Removing the radio from a Mazda 3 is quite easy, so take your time and follow this guide through and you will have a working iPod and iPhone car kit connection in no time. You only need basic skills and it should be ready to test in about 20 minutes. Please see the steps below or alternatively watch the video below.
This guide is for Mazda 3 however you may find that the proccess is similiar in other Mazdas. Take your time and don’t rush the installation. Although the vehicle featured in this guide is a Mazda 3 this kit will work with Mazda 5, Mazda 6, B-Series Pickup, CX-7, CX-9, Miata, MPV, MX-5, Protege, RX-8, and Tribute. Please see the compatibility chart for more details about the year models supported
What You Need to Get Started
For this installation you wont need too many things.
- 1 x Quality Cushie supplied Kit
- 1 x Trim Tool or Flathead Screwdriver
- 1 x Philips Screwdriver
Mazda 3 Radio Removal Step by Step Instruction Guide
Step 1: Open the glovebox. Use the trim tool or flat screwdriver to unhook the four clips holding the silver trim in place. Remove the trim.
Step 2: Undo the 2 head unit screws.
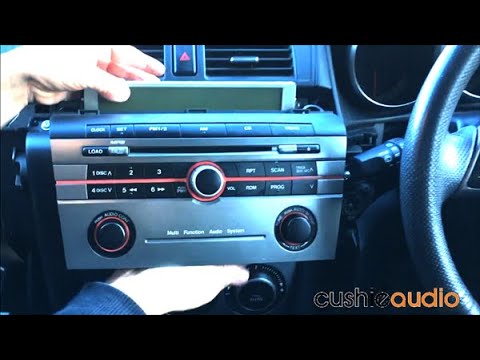
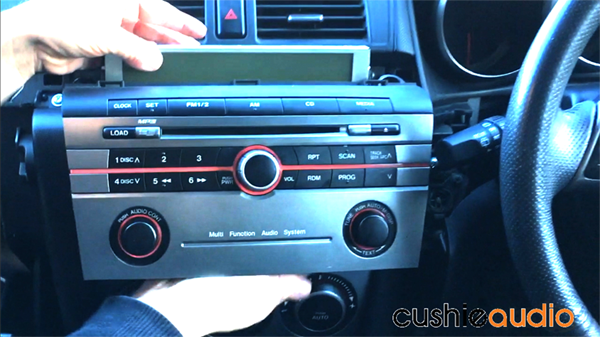
Step 3: Lift the front edge of the top panel with the air-conditioning vents to pull the radio out.
Step 4: Identify and unplug the connection in the external CD Changer port (same as the plug on supplied cable) on the back left of the head unit, looking down from the top (1:44 in to vid below) .Connect the Mazda cable harness into the CD changer port.
Step 5: Plug in the module in. Often it’s not recognised the 1st time you switch it on. Turn the key off for a good 20 seconds before trying again
Step 6: Pair phone if it’s a bluetooth kit and test the functionality to see if it’s all working. Remember it’s the CD button you want. If there’s a CD in you may have to push it again
Step 7: Once you are happy with the functionality, find a place to store any audio cables eg. USB, and Auxiliary cables. They can be fed through to the glove box or underneath into the centre arm rest. Mount the mic and run cable to module too.
Step 8: If you choose to store in the center armrest, open the center armrest and pull the trim upwards where the latch closes. Work your way to the front of the trims. It’s best to have the parking brake up. For manual transmission vehicles, twist the knob anti clockwise to remove it. Once the center panel has been removed, use the Phillips screwdriver to remove the two screws under the ashtray so that the lower center panel can be removed (the panel containing the ash tray, cigarette lighter and seat controls). The cables can then be fed behind the radio into the cavity of the lower center panel and out to the armrest.
Step 9: Reverse the installation process and put the dash back together. Well done!
Mazda 3 Radio Removal Video Instruction Guide
Check out the great video below. With a big thanks to Peta & Tahlia on a great job!